Deploying the PernixData Management Server Virtual Appliance
If you have previously deployed PernixData FVP then you know how easy it already was to deploy the management server on a Windows server: deploy a 64 bit Windows server, have access to a SQL server to use to store the performance data, and that's it. Very simple and a no brainer for anyone who has installed pretty much any client-server application. The installation of the management server software itself takes only 5-10 minutes but it is common for people to spend an hour or so deploying the Windows VM, bringing it up to date with patches, installing SQL or creating database credentials, etc.
Well as of FVP 3.5 / Architect 1.1 the process is even easier with the introduction of a virtual appliance version of the management server. As a reminder no storage IO flows through this server as acceleration with FVP is completely transparent at the hypervisor level.
Note: The Windows version of the management server is still available for those who want to continue using that version but deployment with the new version is much faster as it includes the OS and database server within the appliance.
The steps for installing the new management server virtual appliance are:
- Deploy the OVA.
- Push the host extension (VIB) to the hosts within a vSphere cluster using VUM or command line if you prefer.
The deployment of the OVA takes about 3 minutes while the host extension installs are about 3-5 minutes per host. As the host install is a maintenance mode operation actual install time will depend on how long it takes to temporarily migrate VMs to other hosts.
Screenshots of the OVA deployment
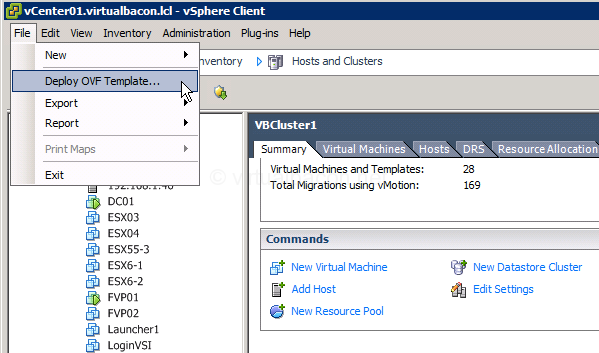
Select the vSphere cluster where you want to deploy the virtual appliance and click on the File menu and select Deploy OVF Template...
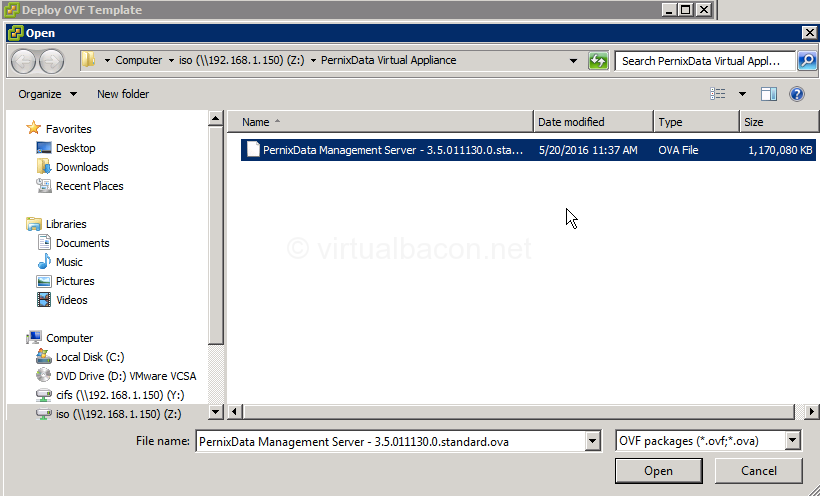
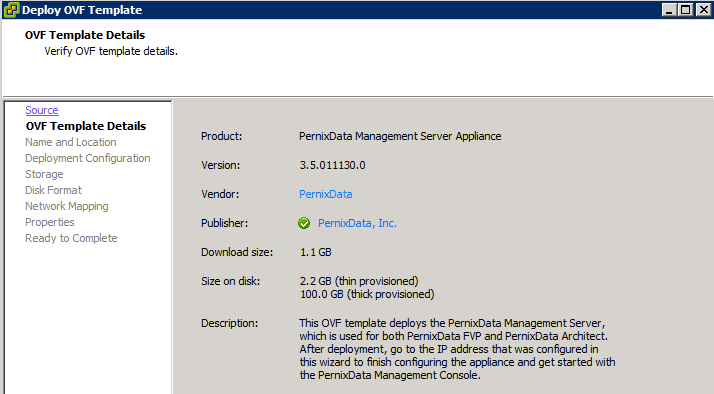
Select the OVA file that you downloaded from the PernixData Support Portal using your account:
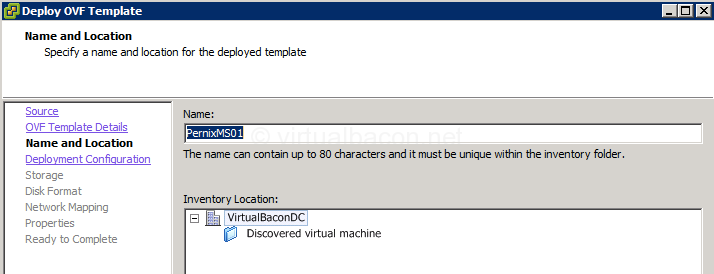
Give the virtual appliance a name:
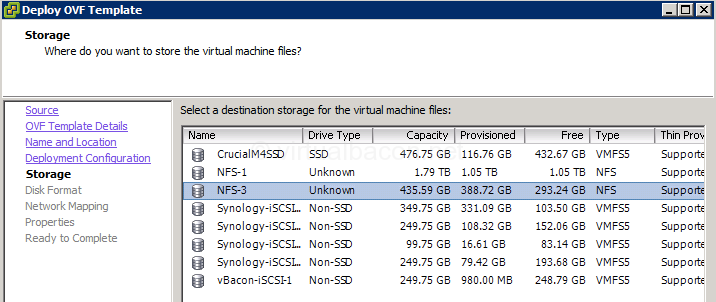
Select the datastore to deploy the virtual appliance to:
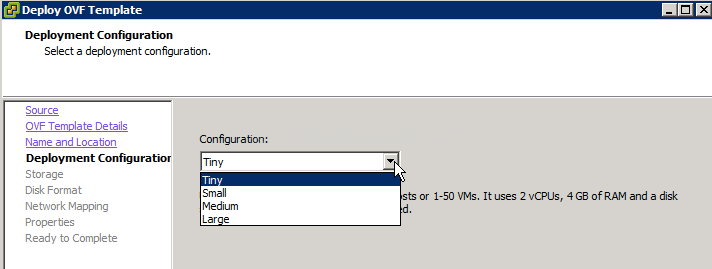
Select the configuration size of the VM based on your environment size:
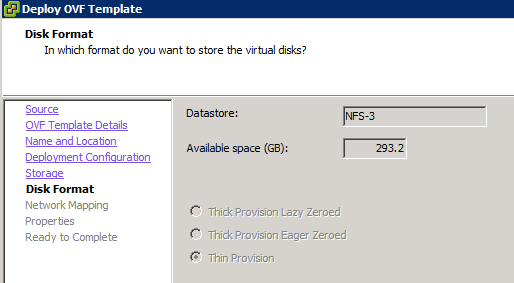
Select the desired disk format (thin or thick):
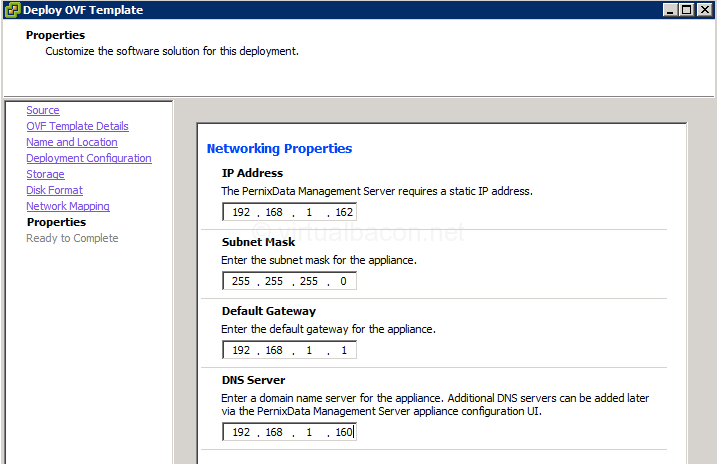
Configure the networking information for the appliance:
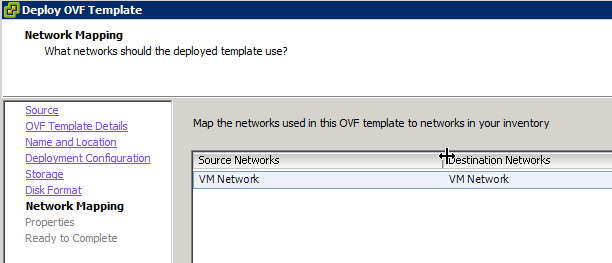
Select the virtual network to use:
Review the deployment summary:
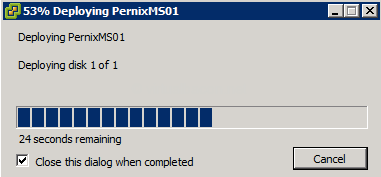
Deploy VM:
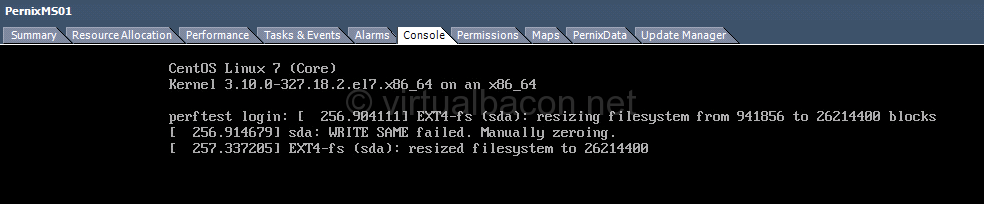
Once the virtual appliance is deployed power it on (unless you checked the box to power it on automatically) and confirm that it is up:
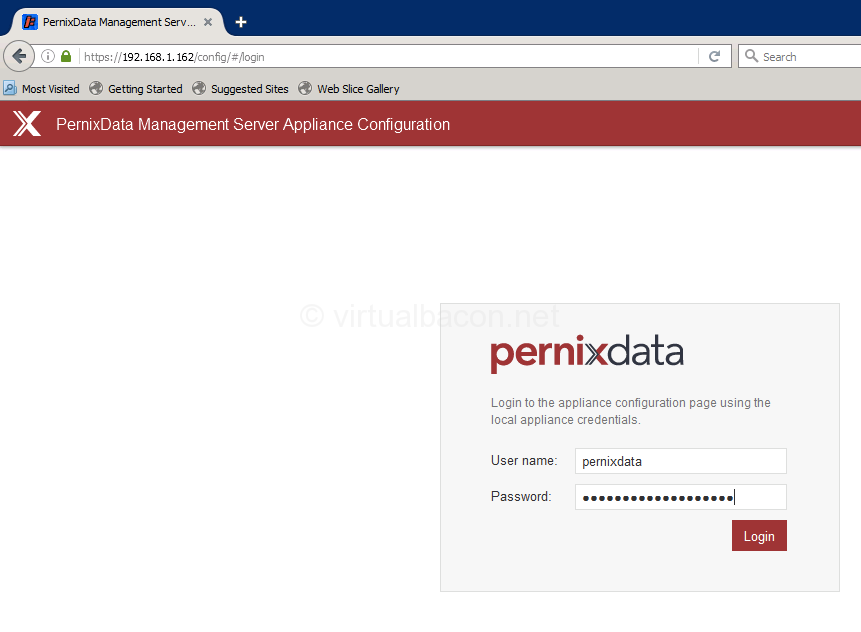
Log into the web interface at https://[ip address or DNS name]/config to complete the installation though the config UI:
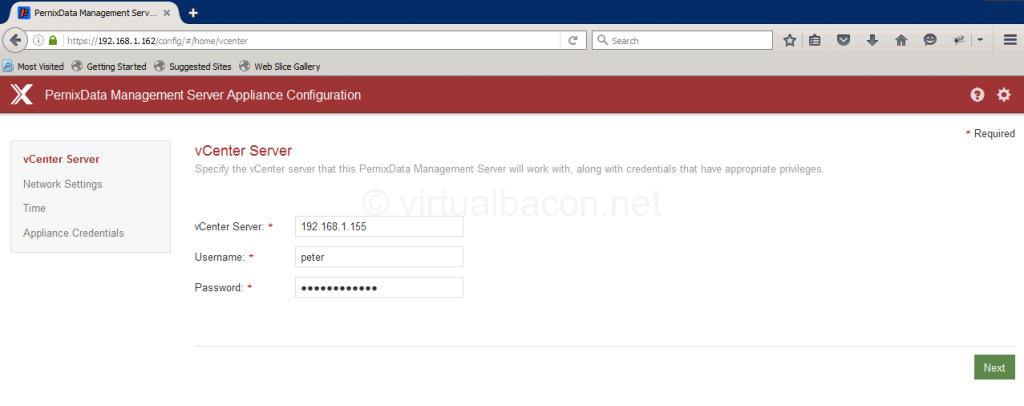
Enter the vCenter server information:
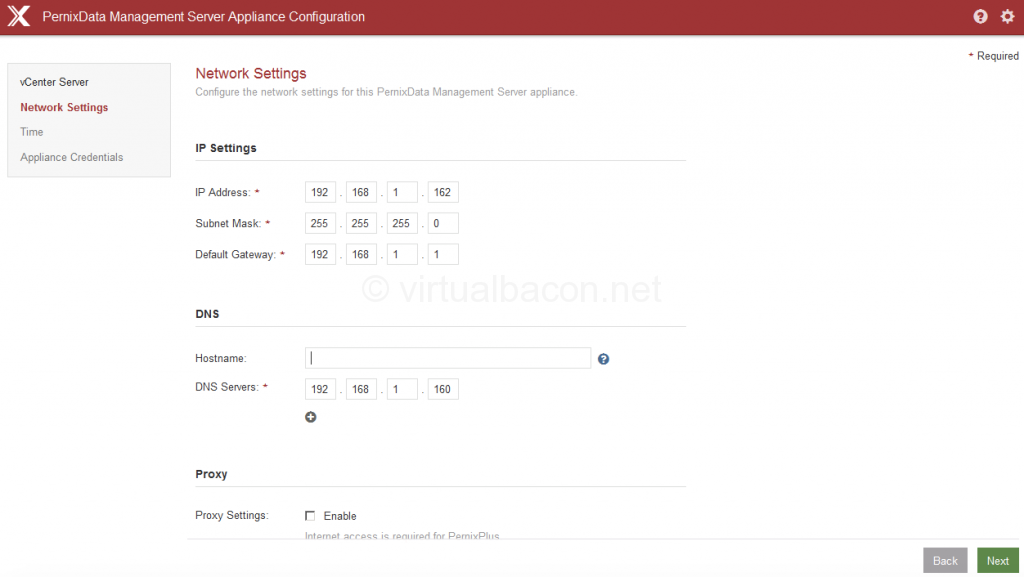
Review network settings:
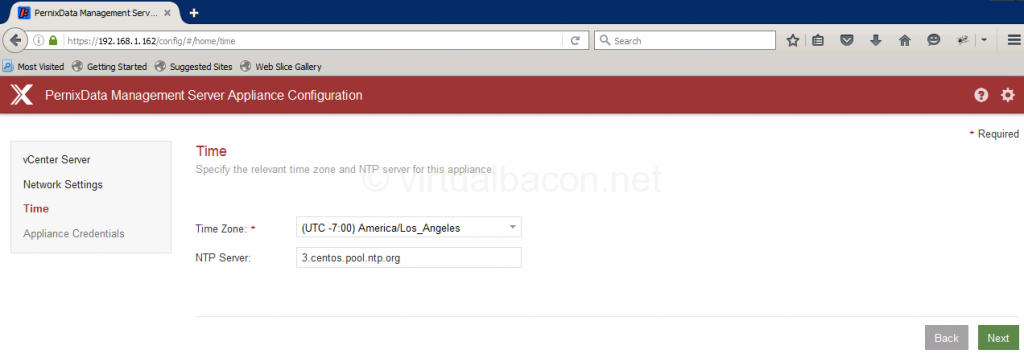
Enter Time Zone and NTP server information:
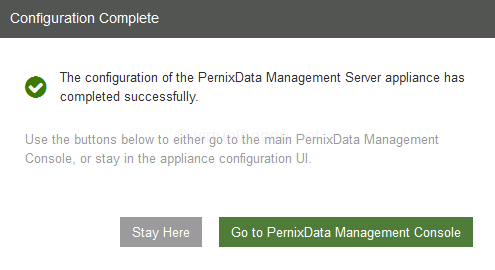
Installation is complete and you can go to the PernixData Management Console to apply your license(s) and begin using FVP and/or Architect.
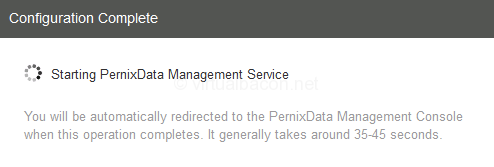
Service starts for the first time:
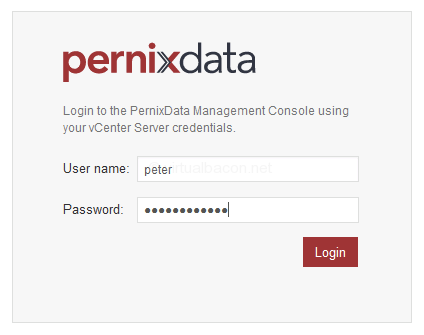
 Front-End Login:
It looks like a lot of steps but the entire process takes all of 3-4 minutes depending on the speed of your host and network to transfer the ova file!
For those of you who are deploying the FVP MS at customer sites you will be pleased that the time spent ensuring that the management server Windows and SQL pre-requisites is now gone. Deploy OVA. Patch hosts. About 4-5 minutes each (minus waiting for VM migrations). Done. 🙂
Video of the deployment:
Recent Posts
- Deploying the PernixData Management Server Virtual Appliance
- New Book “Designing A Storage Performance Platform” by Frank Denneman Available for Download!
- vExpert 2016 Application period is open!
- PernixData at VMworld US 2015
- PernixData at Virtualization Field Day 5
- Avoid problems when removing datastores from ESXi
- PernixData FVP 2.0 Overview
- Designing for Failure: Networking
- Reading S.M.A.R.T. disk data in ESXi
- Real World IIS/.Net Workload Acceleration with PernixData
- Blade Servers: Boot options for leveraging server-side flash
- Real World Domain Controller on FVP
- Swing by the Las Vegas VMUG Holiday Party on Dec. 6!
- Holiday vBeers tonight at 5:30 at the Bellevue TapHouse
- Speeding Up Real World Sharepoint Workloads with PernixData FVP
- Accelerating Real World SQL Workloads with PernixData FVP
- Portland VMUG on Nov 12, 2013
- Why you should join your local VMware User Group (VMUG) – and participate!
- A New Chapter – PernixData
- A Look at the Brocade 6510 Fibre Channel Switch
Categories
- Certification (5)
- Community (7)
- Event (1)
- Firewall Administration (1)
- Hardware (5)
- Network Administration (8)
- Performance (12)
- Storage (9)
- VDI (1)
- Virtualization (37)
- Windows Administration (2)
Tags
#vDB Blogroll
- BrainFloss
- Damian Karlson
- Gabriel Chapman
- Jason Langer
- MWPreston Dot Net
- Valco Labs
- VMCutlip
- vSential
- vTesseract
- WhiteBoard Ninja
Blogroll
- A glimpse into the life of IT
- blog.scottlowe.org
- Cloudjock.com
- Eric Sloof
- Frank Denneman's Blog
- Seattle VMUG LinkedIn Group
- Seattle VMUG Page
- Seattle VMUG Twitter Feed
- VMware Blogs